

Test the output parameters (current, voltage) of the solar cells and classify them accordingly. Also, classify the cells based on the color of their appearance.
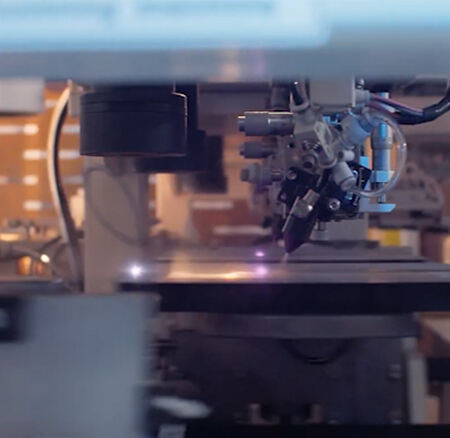
Use an ultraviolet laser to cut the entire solar cell into two halves.
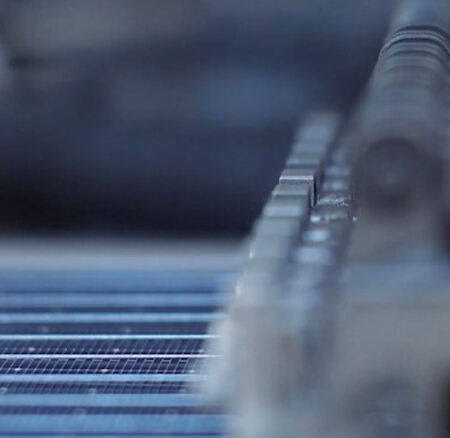
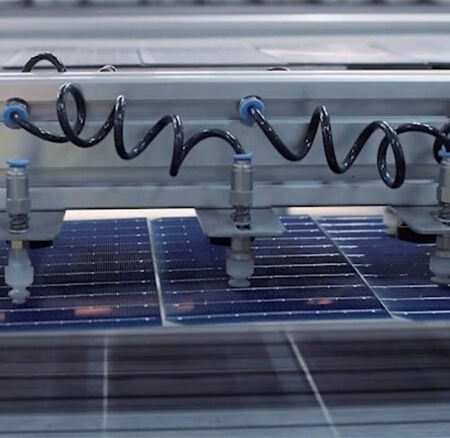
Solder the busbar onto the main grid line on the front (negative side) of the cell, with the excess solder tape connecting to the back electrode of the next cell at the back when soldering.
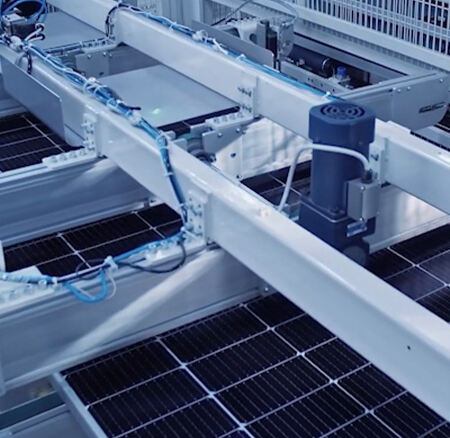
Solder the front electrode (negative side) of a single soldered cell to the back electrode (positive side) of the "following cell," thus connecting several cells in series and soldering the lead wires to the positive and negative ends of the module string.
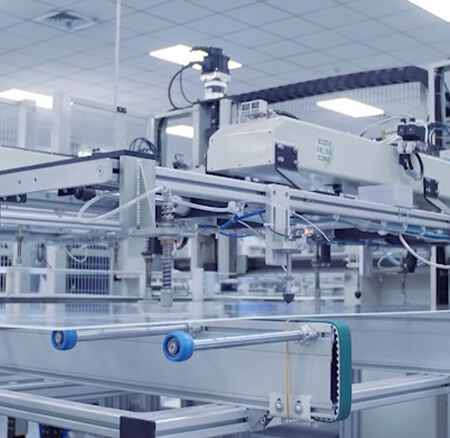
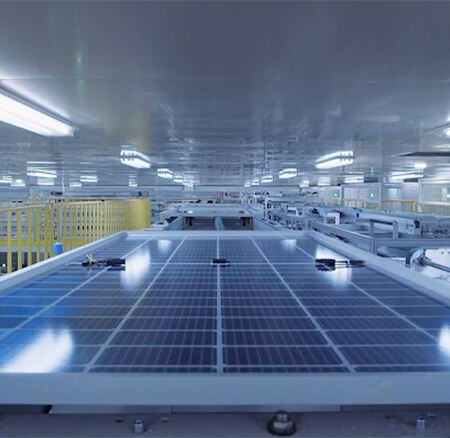
Arrange the module strings in order, then lay out other auxiliary materials, namely glass, cut EVA, and backsheet, in a certain order, preparing for the next lamination process.

Electroluminescent ,used for detecting internal defects in solar cells (silicon wafers) and modules.
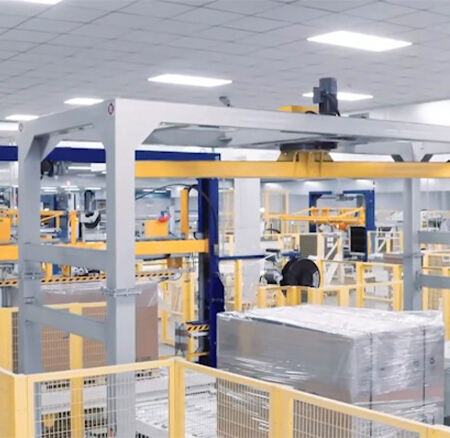
Place the laid-out module strings, glass, EVA, and backsheet into the laminator, remove the air inside the module by vacuuming, then heat to melt the EVA and bond the cell, glass, and backsheet together; finally, cool down and take out the module.
Include IV test, Voltage-resistance and Insulation test, Final EL Test.